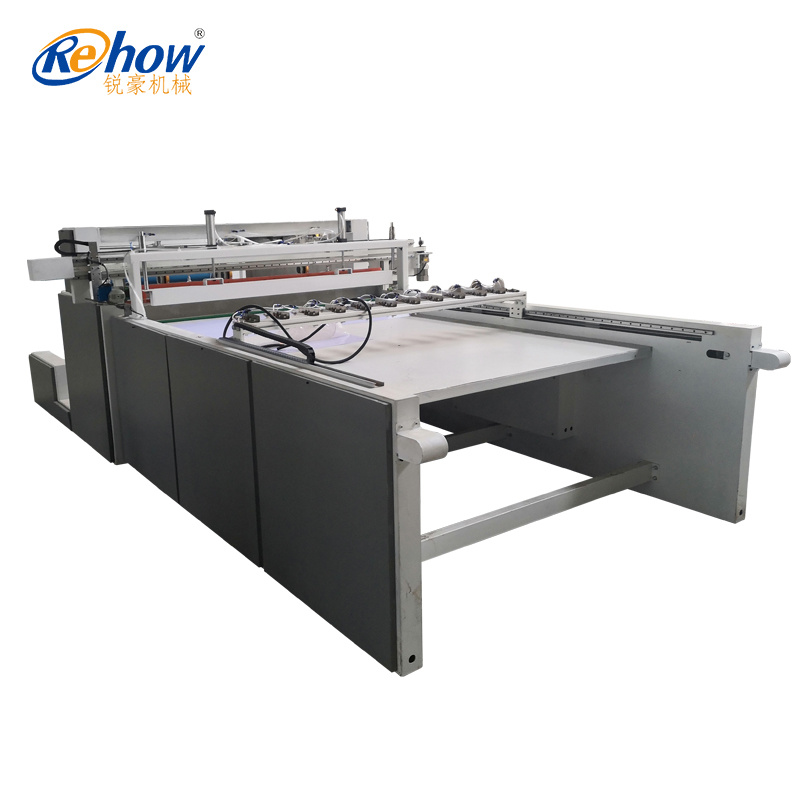
1. Set the length of the fabric, and fix the pressing frame, so that the pressing frame is fixed firmly and cannot be moved.
2. After the spreading  machine is reset to zero, walk once with no load to verify whether the position of the pressing rod and the length of the machine are accurate.
3. Lift the fabric onto the cloth bucket, pull out the cloth head about 40CM, and place it on the support rod.
4. In the secondary interface, determine the method of spreading (double pull or single pull).
5. Adjust the lifting amount (0.04-0.10) according to the thickness of the fabric, set the cutting width and cutting speed, and set the deceleration distance before and after, so that the machine may stop smoothly at the front end.
6. Open the fabric stabilizing rod, hit the cloth support rod from the fabric bucket to the front of the machine, and press the manual release button when the fabric support rod hits the middle of the machine.
7. Open the fabric presser, pull out the pin on the cloth support rod, turn the round rod of the cloth support rod clockwise, slide the fabric from the machine support rod to the feed roller, and press “Place fabric” to turn on the automatic fabric release function
8. Press down the fabric pressing horse head, press “Cloth Out” to make the cloth slide down from the fabric out slider, and press “Cutting” to cut the fabric head flat.
9. Press “Start”, the machine is in automatic operation, check the tightness of the fabric at this time, and adjust the tightness to the proper position.
Post time: May-18-2022


